
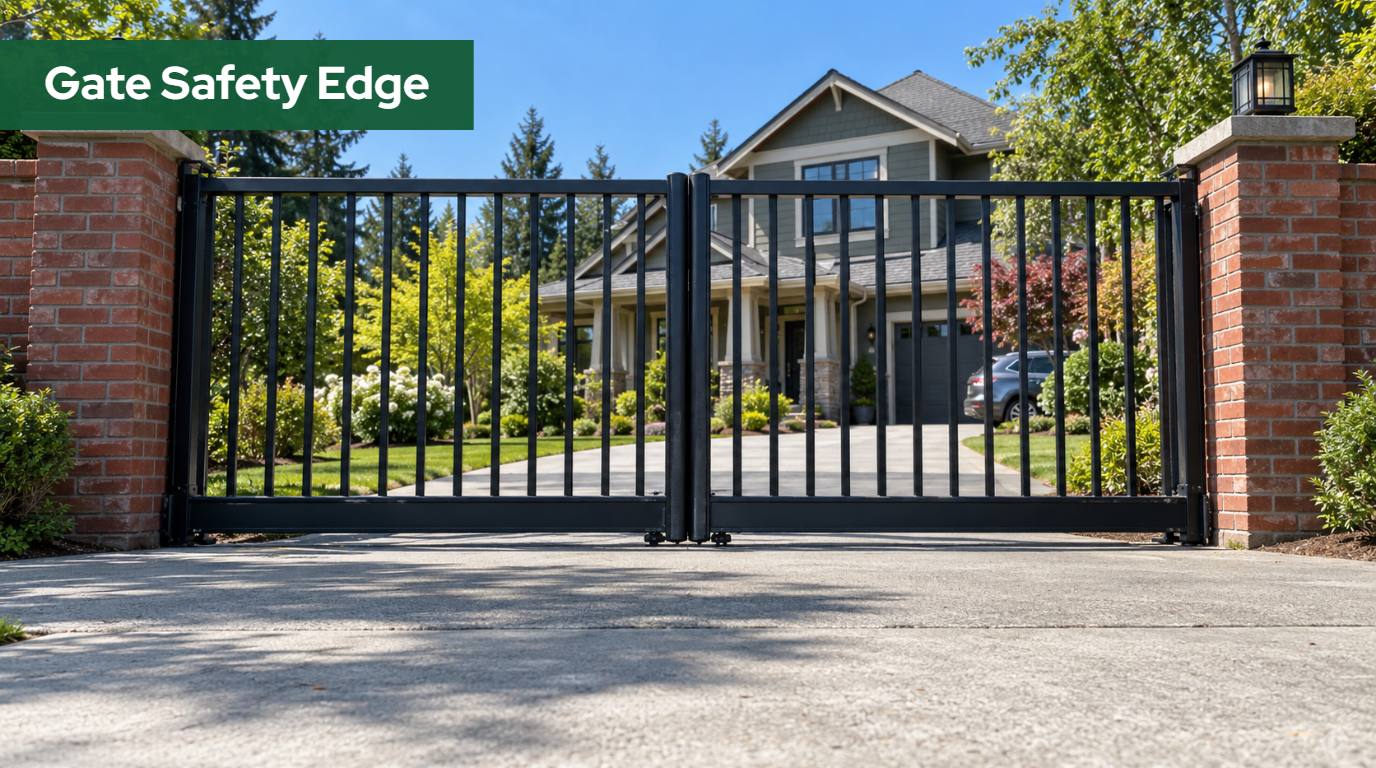
A gate safety edge in Washington is the strip of rubber you see along the end of many automatic gates, and it is easy to mistake for a bumper. It is not a bumper. It is a sensor. When a moving gate presses that strip against a person, a car or a post, the edge signals the operator and the gate stops or reverses. On many gates it is the device that decides whether someone caught at the end of the gate’s travel walks away with a bruise or gets pinned.
This guide explains when UL 325 calls for an edge, how it differs from a photo eye, where edges go on slide and swing gates, how monitoring works, how to mount an edge so it senses, and who may wire it under Washington rules. It is written for owners, HOA boards and property managers in Skagit, Whatcom, Snohomish, Island, San Juan, King and Pierce counties.
Quick answer
A gate safety edge is a contact sensor (UL 325 Type B2) mounted on the gate that stops or reverses it when pressed. UL 325 needs two independent protection means per entrapment zone, every external device monitored. In Washington, edges usually go on the leading and trailing edges of slide gates and at swing gate pinch points.
In this guide
- What a gate safety edge in Washington has to do
- Does a gate need a safety edge under UL 325?
- Safety edge or photo eye: which one fits the zone?
- Where safety edges go on a slide gate
- Where safety edges go on a swing gate
- Resistive, contact closure and wireless edges
- How monitoring works and why an edge cannot be jumpered
- Sizing and mounting an edge so it actually senses
- Rain, moss and impact in Northwest Washington
- Wiring, wireless links and L&I rules in Washington
- Safety edges on HOA, multi-family and commercial gates
- Testing a safety edge and keeping it working
- When a safety edge keeps stopping the gate
- How we approach safety edges
- Frequently asked questions
What a Gate Safety Edge in Washington Has to Do
A safety edge, also called a sensing edge or reversing edge, is a flexible profile, usually black rubber, with a switching element inside. It is mounted where the gate can meet something: the leading edge that closes against a post, the trailing edge that slides past a fence, or the face of a swing leaf near a wall. When the profile is squeezed, the switching element changes state, and the operator reads that as an obstruction.
UL 325, the safety standard vehicular gate operators are listed to, calls this a Type B2 contact sensor: an “edge device or the equivalent.” The operator’s own inherent sensing, which notices the motor working harder than it should, is Type A. A photo eye, which watches a beam, is Type B1. An edge reacts to contact at a specific spot on the gate, right where a hand, a leg or a child would be caught, instead of waiting for the motor to feel resistance.
In Washington, gate safety is also a code issue. The International Fire Code section on gates across fire apparatus access roads, adopted statewide through WAC 51-54A-0503, calls for electric gate operators listed to UL 325 and gates built to ASTM F2200. Our guide to automatic gate safety standards under UL 325 and ASTM F2200 covers both standards in more depth.
Does a Gate Need a Safety Edge Under UL 325?
UL 325 does not say every gate needs an edge. It says every entrapment zone needs enough protection, and an edge is one way to provide it. DASMA’s TDS 353 on vehicular gate operators and UL 325 quotes section 32.1.1: a vehicular gate operator shall have provisions for, or be supplied with, a minimum of two independent entrapment protection means for each entrapment zone, and shall operate only after the minimum number has been installed and enabled.
Table 32.1 of UL 325, reprinted in the same data sheet from the 7th edition, lists which types count:
| Gate operator category | Protection types allowed | What that means for edges |
|---|---|---|
| Horizontal slide, vertical lift, vertical pivot, horizontal bifold | A, B1, B2 or D | An edge is one of the main choices, often paired with a photo eye or the operator’s inherent sensing |
| Swing and vehicular barrier (arm) | A, B1, B2, C or D | An edge is often the best device where a leaf swings close to a wall, fence or hedge |
Two notes under the table shape every layout. The same type of device shall not be used for both means in a zone, so two edges in one zone count as one type. And a single device can cover both the opening and closing directions.
Most current operators count their inherent sensing as one means. That leaves at least one external device, a photo eye or an edge, for each zone and direction where there is a risk of entrapment, and TDS 353 adds that all external means must be monitored. When an operator relies on contact sensors, UL 325 requires one or more of them in all potential entrapment zones. Manufacturers must also specify the brand and model of compatible external sensors, so the right edge is the one the operator manual lists.
Safety Edge or Photo Eye: Which One Fits the Zone?
Because the same type cannot count twice in one zone, many well-designed gates use both a photo eye and an edge. Our article on gate photo eye installation in Washington covers the beam side of that decision; here is how the two compare.
| Question | Safety edge (Type B2) | Photo eye (Type B1) |
|---|---|---|
| What triggers it | Pressure on the edge profile | Something breaking an infrared beam |
| What it protects | The surface it is mounted on, at every height it covers | The line the beam crosses, at the beam’s height |
| Best places | Leading and trailing edges of slide gates, swing leaves near walls, the end of travel | Across the opening, behind a slide gate, wide areas a person might stand in |
| Weak spots | Needs contact first; takes impact and wear; wiring to a moving gate | Misses anything above or below the beam; low sun, fog and dirty lenses |
A simple way to think about it: a photo eye notices a person before the gate reaches them, and an edge makes sure the gate cannot keep pushing once it does. On a slide gate closing against a post, the last few inches of travel are exactly where a beam across the driveway does not help. On a swing gate opening toward a stone wall, the space may be too irregular for a clean beam. Those are edge jobs. Loops and wands sense vehicles, not people, and do not count as entrapment protection; our guide to the gate loop detector in Washington explains how they fit in.
Where Safety Edges Go on a Slide Gate
Slide gates, including cantilever gates, are where edges do most of their work, because each end of the travel closes a moving edge against something fixed. DASMA’s Gate System Safety brochure shows the typical slide gate layout: an edge sensor on the leading edge, another on the trailing edge, photo eyes for the open and close directions, physical stops at both ends of the rail and non-pinch rollers.

Leading edge. This end closes against the receiving post, and a person standing in the opening can be pressed between the two. An edge along the leading edge, or on the receiving post, is the classic device for that zone.
Trailing edge. When a slide gate opens, its back end moves toward the fence, a wall, a hedge or a parked vehicle. A trailing edge sensor protects that opening-direction zone. On residential sites this strip is often where a homeowner walks to the mailbox or where kids and dogs wander, so it deserves the same care as the front.
Gaps along the fence line. The brochure gives the measurements. Per UL 325, any gap less than 16 inches between a slide gate and fixed objects must be protected. Per ASTM F2200, any gap greater than 2-1/4 inches between a gate and a fixed object must be protected. Where a slide gate passes a post or pillar inside those ranges, an edge at that point may be needed.
Rollers and screening. Edges do not replace guarding. ASTM F2200, as summarized by DASMA, calls for covers on exposed weight-bearing rollers and pinch points less than 8 feet above grade, and for screening so a 2-1/4 inch sphere cannot pass through the gate’s openings.
Cantilever gates add a counterbalance tail that moves past the fence every cycle. Our guide to cantilever gate installation in Washington explains that layout; the edge plan is drawn on top of it, not added afterward.
Slide gate with bare edges or an old, cracked edge?
We walk the gate through its full travel, mark every zone at the leading edge, the trailing edge and along the fence, and lay out the edges and eyes your operator lists as compatible.
Where Safety Edges Go on a Swing Gate
DASMA’s brochure shows two zones on a swing gate: one for the closing cycle, in the arc between the open leaf and the closed position, and one for the opening cycle, in the space the leaf sweeps into as it opens. Edges are most useful where a leaf moves close to something solid.
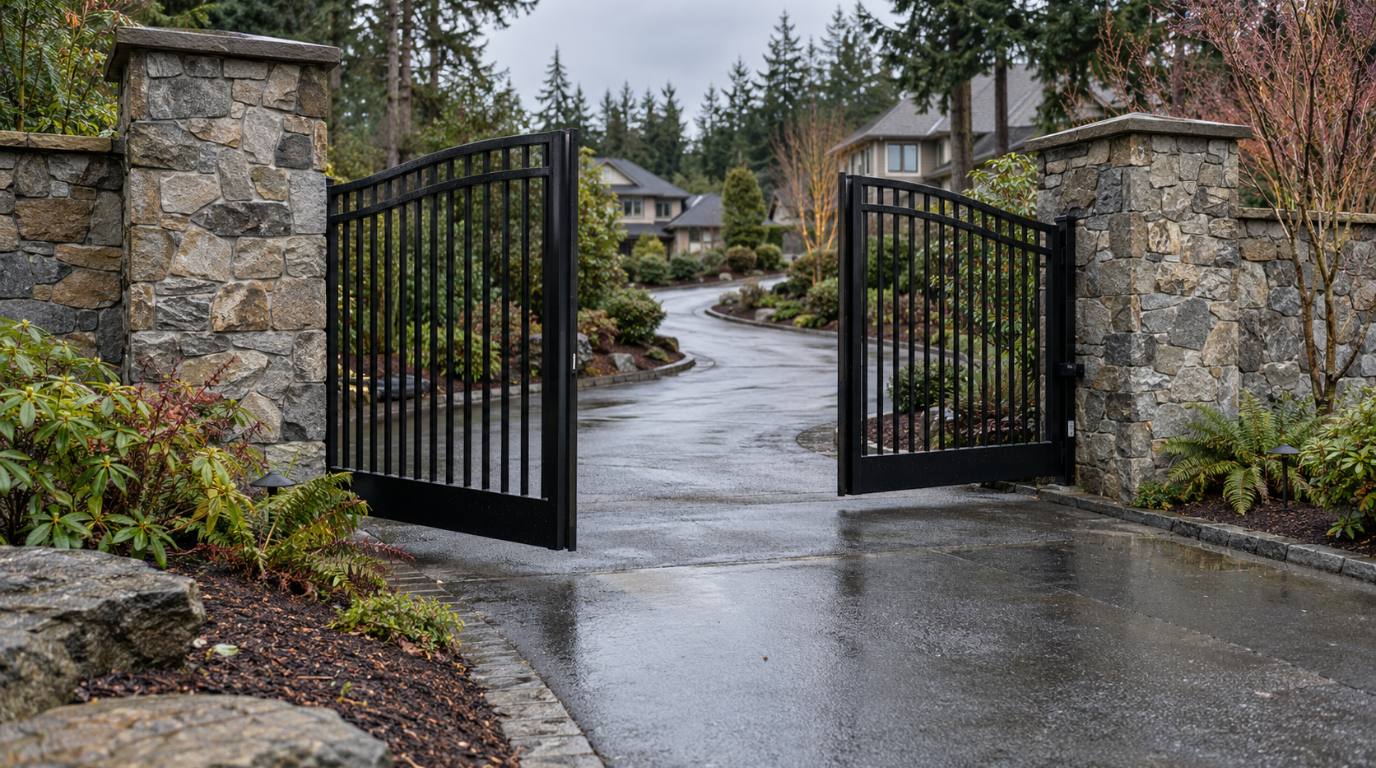
Leading edge of each leaf. On a double swing gate, the leaves meet in the middle, and a person standing there while the gate closes can be caught between them. An edge on one or both leading edges protects that point.
The opening side near a wall or fence. If a leaf opens toward a stone wall, a fence corner, a planted bed or a parked trailer, the gap between the open leaf and that object is a pinch area. A photo eye can be hard to aim across a space like that. An edge on the face of the leaf, or on the wall where the leaf stops, protects the zone directly.
Gates on a grade. On a sloped driveway, the gap under a swing leaf changes through its travel. The brochure sets the trigger: if the gap under any part of the gate, during any part of its travel, is greater than 4 inches but less than 16 inches, entrapment protection is required there. Our article on choosing a driveway gate on a slope explains how grade changes the layout, and our guide to sagging gate repair in Washington covers why a dropped leaf affects the operator and its sensors.
One rule applies to every gate with an operator: TDS 353 states that vehicular gate operators can only be used on vehicular gates, never on pedestrian gates, and separate pedestrian access must be provided wherever people are likely to walk.
Resistive, Contact Closure and Wireless Edges
Edges look alike from the driveway, but they are not interchangeable, and the operator decides which ones it can use.
| Style | How it signals | Strengths | Watch out for |
|---|---|---|---|
| Monitored resistive edge | A resistor in the edge gives the circuit a known value; pressing the edge changes it, and a cut or short reads as a fault | Works with the monitoring UL 325 requires; the operator can tell a pressed edge from a broken one | Must match the model the operator manual lists |
| Contact closure edge (normally open) | Pressing the edge closes a simple switch | Simple; common on older gates | A cut wire can look like an idle edge, so many are replaced when the operator is upgraded |
| Wireless edge | The edge is wired to a battery transmitter on the gate that talks to a receiver at the operator | No cable to a moving gate; useful on long slide gates and retrofits | Batteries to replace; the radio path must stay clear |
Manufacturer documents show how specific the matching is. LiftMaster’s installation manual for its monitored wireless edge kit (model LMWEKITU) describes a Bluetooth connection between a LiftMaster monitored resistive edge and the operator, with a maximum range of 130 feet and up to four transmitters per receiver. The same manual states that the kit works with LiftMaster monitored resistive edges only and that contact closure edges are not supported. A switch on each transmitter sets whether its edge protects the open or close direction, and dual gates need one receiver for each operator.
That is why an edge is never chosen by appearance. The operator manual names the compatible devices and both manufacturers’ wiring instructions have to agree. When we replace an operator, older edges are often replaced in the same job, as our page on automating an existing gate explains.
How Monitoring Works and Why an Edge Cannot Be Jumpered
Older edges were often just a switch in a circuit; if the cable broke, the gate kept running as if the edge were there. TDS 353 states that all external entrapment protection sensors must now be monitored and that the operator must verify the presence of every device at least once during each open and close cycle.
If a device is not present, or a fault prevents it from sensing, including an interrupted wireless signal or an open or short circuit in its wiring, the operator must run only with constant pressure on a control for the direction being protected, or only be movable by hand. A broken edge should stop the gate from running automatically in the direction that edge protects.
UL 325 also controls what the gate does after an edge is pressed. TDS 353 summarizes the rules:
- Reversal timing. Reversing must begin within 2 seconds of sensing an obstruction, and after the first contact the gate must reverse at least 2 inches.
- Second contact. If a second contact is detected by a Type B1 or B2 device, the gate must stop but may also reverse.
- Timer-to-close. After any stop or reversal by a Type A or B2 device, the timer-to-close is disabled until reset, so the gate does not close again on whatever it just touched.
When an edge cable is damaged and the gate stops working normally, the temptation is to put a jumper or resistor across the terminals. UL 325 forbids that. DASMA quotes the standard: no modification shall be made in the field to bypass, interfere with or otherwise defeat the monitoring function by adding, suppressing or changing wires, terminals, switches, jumpers or components on the operator or on the external device.
Sizing and Mounting an Edge So It Actually Senses
An edge that is the wrong length, mounted in the wrong place or squeezed all the time does not protect anyone. Three questions decide whether it works.
Does it cover the right height? An edge protects only the surface it covers. On the leading edge of a slide gate, the zone runs from near the ground to well above hand and head height, so edges usually cover most of the gate’s height there. A short strip at waist height on a tall gate leaves gaps a child or a fallen person could be caught in.
Do the ends count? Miller Edge’s installation instructions for its MGR20 and MGS20 gate edges state that the edge signals the controls when compressed 1/2 inch along any portion of its length, starting 2 inches in from the ends. That inactive zone near each end is one reason an edge is sized to reach past the area it protects.
Is it squeezed at rest? The same instructions say the equipment should be adjusted so the edge is never compressed more than 1/4 inch, and that with the gate closed the edge should show an open circuit; if not, the close limit is readjusted. A gate set to close hard against its post keeps the edge crushed, wears it out and can make the operator see an obstruction every time.
Mounting details matter as much as the edge:
- Solid backing along the full length, so pressure anywhere compresses the sensing element instead of flexing the mount.
- A protected cable exit. TDS 353 notes that a wired contact sensor and its wiring shall be arranged so the connection is not subjected to mechanical damage.
- No paint, no cuts. Miller Edge warns never to paint, cut or puncture a sensing edge. Painting over one when the gate is refinished is a common way to ruin it.
- Stops at both ends of a slide gate rail, so the gate cannot overrun and crush the edge against the post.
Edge crushed at every close, or too short for the gate?
We check how far the edge is compressed at rest, whether it covers the full zone, and whether the gate’s limits and stops are set so the edge senses when it should.
Rain, Moss and Impact in Northwest Washington
Edges are less bothered by weather than photo eyes because they do not depend on a clean optical path. A rubber profile on a moving steel gate in western Washington still lives a hard life, and most edge problems we see trace back to a few local conditions.
Water entry. Rain is steady from fall through spring in most of Skagit, Whatcom, Snohomish and Island counties. A small cut, a split end cap or a loose cable gland lets water into the sensing element or the connection, and the operator may report a fault or act as if the edge is pressed. Miller Edge lists water damage alongside cuts and loss of sensitivity as things to look for, and LiftMaster’s wireless kit instructions call for tightening the transmitter’s cable connector so the housing stays watertight.
Moss, needles and debris. Gates under trees collect organic film and leaf litter. Debris packed into a receiving post can hold an edge partly compressed or keep water against it. Keeping that area clear is part of the routine in our seasonal automatic gate maintenance guide for Washington.
Impact. Edges sit where vehicles tend to touch the gate. A truck clipping a slide gate’s leading edge can tear the profile or pull the cable out. After any hit, the edge should be tested before the gate goes back into automatic use.
Power outages. A wireless edge needs healthy transmitter batteries. LiftMaster’s manual states that when the battery is critically low, the operator will not function until it is replaced, and it either opens automatically or stays latched closed based on the operator setting. Our article on automatic gate battery backup in Skagit County covers how gates behave during outages.
Wiring, Wireless Links and L&I Rules in Washington
Getting a signal from a moving gate back to a fixed operator is the practical challenge with any edge. There are three common ways to do it:
- Coiled cord or cable carrier from the moving gate to a junction near the operator, long enough for full travel and protected from pinching.
- A fixed edge on the post, which avoids moving cable where the post edge can protect the same zone.
- A wireless transmitter. TDS 353 notes that a wireless contact sensor shall be located where its signal is not obstructed by building structures, natural landscaping or similar obstructions. On a site with stone pillars and a laurel hedge, that is a real constraint.
In Washington, edge wiring is also a licensing question. Gate operator wiring is electrical work under the Department of Labor and Industries. WAC 296-46B-920 creates a door, gate and similar systems specialty, specialty code (10), whose holders may install, service, maintain, repair or replace door, gate and similar systems electrical operator wiring and equipment.
The specialty covers low-voltage NEC Class 2 operator systems not connected to other systems, plus branch circuits from a listed operator control panel that supply only system components, up to 600 volts and 20 amperes, with the component within sight of the panel. It may not install or replace the line-voltage branch circuit that supplies the control panel itself; that needs an electrical contractor licensed for it. Edges, photo eyes, loops and keypads wired to the operator fall inside the gate specialty. Our page on choosing a licensed gate contractor in Northwest Washington explains how to check a license on the L&I site.
Safety Edges on HOA, Multi-Family and Commercial Gates
UL 325 sorts operators into four usage classes. TDS 353 quotes Class I as garages or parking areas associated with a residence of one to four single families, and Class II as commercial locations or buildings such as multi-family housing of five or more units, hotels, retail stores or other buildings accessible by or servicing the general public.
An HOA entrance serving dozens of homes is Class II, even when the gate looks residential. More people stand in its zones, including delivery drivers, guests and kids on bikes, and the gate cycles far more often. On these gates, edges see more contact and more vehicle hits, so we plan them with inspection and replacement in mind:
- Both ends of every slide gate, plus photo eyes in both directions, because people wait behind commercial gates.
- Separate pedestrian gates with warning signs; TDS 353 notes that at least two warning signs must be displayed in the area of the gate.
- Fire access. Entrapment protection must never block or delay fire department access, so the edge layout and the emergency opening method are planned together.
See our pages on HOA and community gate systems and commercial gate installation for the larger planning picture.
Testing a Safety Edge and Keeping It Working
DASMA’s brochure asks owners to have the installer test all entrapment protection devices before leaving the site, confirm that the gate stops or reverses when it senses an object, and check those devices on the manufacturer’s schedule afterward. Miller Edge’s instructions recommend checking the entire length of a gate edge at least once per month for damage, cuts, loss of sensitivity or water damage, and not operating the gate without a properly working, correctly wired edge.
A simple owner check, with the gate under your control and nobody in its path:
- Look along the whole edge for cuts, flattened sections, split end caps, a loose cable or paint on the rubber.
- Confirm nothing is wedged against the edge and the area behind it is clear.
- Start the gate moving in the direction the edge protects.
- Press the edge firmly with a solid object, such as a piece of wood. Do not use your hand or body, and do not step into the gate’s travel.
- Confirm the gate stops or reverses as the manual describes and does not close again on its own right away.
- Repeat for each edge. If the gate keeps moving, stop using it automatically and call for service.
Older gates in our area fall short in predictable ways: a contact closure edge on a new operator that cannot monitor it, an edge on the leading end of a slide gate with nothing on the trailing end, an edge too short for the gate, or one bypassed years ago when the cable broke. Retrofitting usually means monitored edges the operator lists, coverage for each zone, and corrected limits, stops and guards.
Want your gate’s edges checked against current rules?
We test every edge and photo eye in the direction it protects, compare the layout with what UL 325 and ASTM F2200 ask for, and explain the upgrade options in plain terms.
When a Safety Edge Keeps Stopping the Gate
Most edge problems show up as a gate that reverses for no visible reason, will not close automatically or shows an edge fault. The causes can usually be checked in order before anyone replaces parts.
| Symptom | Common causes to check | Who usually fixes it |
|---|---|---|
| Gate reverses right at the end of closing | Close limit crushing the edge against the post; debris in the receiving post; gate overrunning its stop | Owner (clear debris), then installer |
| Gate reverses at random during travel | Cable pinched or rubbing; damaged profile; water inside the edge or connection | Installer |
| Gate will not close automatically | Edge circuit open or shorted; cable cut; monitoring fault | Installer |
| Wireless edge faults now and then | Low transmitter battery; radio path blocked by growth or new structures | Owner (battery), installer (relocation) |
| New operator rejects the existing edge | Edge type not supported by the new board | Installer (replace with a listed device) |
Do not defeat the edge to get the gate moving; a bypass hides the real cause and leaves a protection people trust that is not there. If clearing debris does not fix it, our guide to an automatic gate not opening or closing walks through the next checks, and our automatic gate repair team in Northwest Washington can diagnose the board, wiring and sensors on site.
How We Approach Safety Edges
Emerald Gate Systems designs, fabricates, installs, automates and services gates from our own shop at 7557 Alpine Lane in Sedro-Woolley, Washington, and serves Skagit, Whatcom, Snohomish, Island, San Juan, King and Pierce counties. Because one team handles CAD planning, welding, installation, automation, access control, testing and later service, mounting channels, cable paths and stops for the edges are part of the fabrication plan instead of being improvised on the last day.
On a site visit we look at which way the gate moves, where it closes against posts, walls and landscaping, and who uses the entrance. We then decide which zones need an edge, which need a photo eye, and how the operator’s inherent sensing fits in. We install and service LiftMaster, Viking and FAAC operators and use the sensors each manufacturer lists as compatible, wired so the operator monitors them. Before we leave, we test every device in the direction it protects and show the owner how to turn power off and move the gate by hand. Our automatic gate installation page covers the full process, and our gate operator comparison for Northwest Washington explains how operator choice affects the sensors you can use.
Washington requires contractors to show their registration in advertising: Emerald Gate Systems is registered with the Washington State Department of Labor and Industries as a construction contractor (EMERAGS748D6) and holds an electrical contractor license in the Doors and Gates specialty (EMERAGS747KE).
Frequently Asked Questions
What is a gate safety edge?
A gate safety edge is a flexible sensing strip mounted on a gate or post that signals the operator when it is pressed. UL 325 calls it a Type B2 contact sensor. When a moving gate pushes the edge against a person or object, the operator stops or reverses the gate. Current operators require the edge to be monitored so a broken edge is detected.
Do I need a safety edge if my gate has photo eyes?
Often, yes. UL 325 requires two independent protection means in each entrapment zone, and two devices of the same type count as one. A photo eye and the operator’s inherent sensing can be enough in some zones, but where a gate closes against a post or swings near a wall, an edge is usually the device that protects that spot.
Where do safety edges go on a slide gate?
DASMA’s slide gate illustration shows an edge sensor on the leading edge, where the gate closes against the receiving post, and another on the trailing edge, where it moves toward the fence when opening. Photo eyes cover the open and close directions, with physical stops at both ends of the rail and covers on exposed rollers.
Can I put a jumper on the safety edge terminals?
No. UL 325 forbids any field modification that bypasses or defeats the monitoring of external entrapment protection devices, including jumpers, resistors placed across terminals, switches or changed wiring. A gate that refuses to run because of an edge fault is doing what the standard intends. Check the edge for damage, then call a qualified installer.
How often should a gate safety edge be checked?
Follow the edge manufacturer’s schedule. Miller Edge’s instructions recommend checking the entire length of a gate edge at least once per month for damage, cuts, loss of sensitivity or water damage. Test it in the direction it protects with a solid object, never your body, and have it inspected after any vehicle contact.
Who can install a gate safety edge in Washington?
Gate operator wiring is electrical work regulated by L&I. WAC 296-46B-920 creates the door, gate and similar systems specialty (10), which covers low-voltage Class 2 operator systems such as edges and photo eyes. The line-voltage branch circuit that feeds the operator panel needs an electrical contractor licensed for that work.